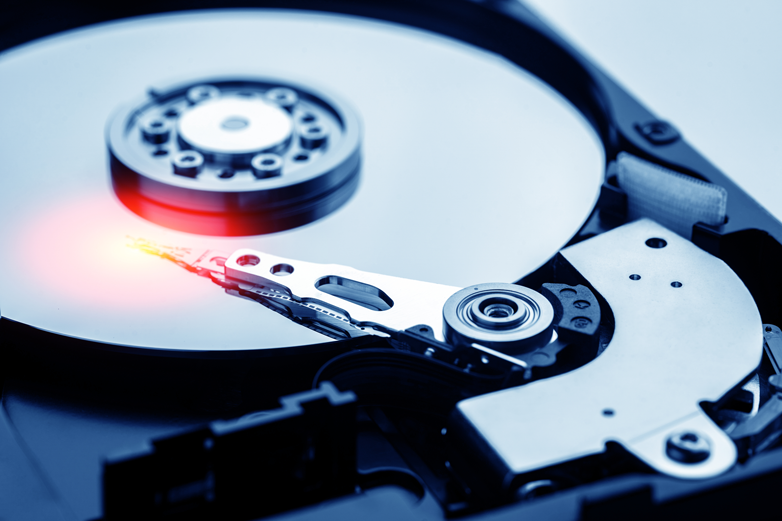
If you have ever had any issues with your hard drive on your computer, you know how frustrating it can be, especially if you’re trying to recover files from a hard disk or external drive that has not been detected. One of the more known issues with hard drives involves the error message, “hard drive not detected.” If it is the first time you see this message, you may wonder what is going on? But before you panic or go out and buy a new hard drive, there are several things that you can try. Today, we will show you how to recover data from a hard disk which is “not detecting.”

Why is My Hard Disk Drive Not Detected?
It is a pretty big deal if something goes wrong with your hard disk drive. After all, it is a significant component of your computer or laptop. It stores and retrieves all of your digital information such as your operating system, apps, programs, media files, documents, movies, and any other data files that your PC uses. Suffice to say that seeing any type of error message involving your hard drive will cause concern.
So, what are some possible reasons or causes behind the hard drive not detecting errors?
In rare cases, this error may disappear after rebooting your computer or changing a cable, but in the likely chance that you still see the error, here are some reasons why you may be seeing it:
- USB connection is loose
- Dead or defective USB port
- Dead or broken hard drive
- Corrupted hard drive
- Malware infection, viruses, or other security issues
- Driver issues in Windows
How to Recover Data From Hard Disk Which is Not Detecting
If you are worried about valuable information stored on your hard drive, you are not alone. Many people will see the error message and assume that they’ve lost everything. Thankfully, that is not the case, and your data is most likely recoverable.
There are several different methods to use to restore your data, but today we are going to focus on the top 3 methods. Now, you simply need to decide what recovery option is best suited for you and your tech skills– don’t worry, there are options for all skill levels.
- Connect your hard drive to a different device
This is one of the more straightforward ways to show you how to recover data from a hard disk which is not detecting. Simply connect your hard disk drive to a different computer. Once you have connected it, look for any missing data, and if you see it, you can recover it from there. - Check Drivers on Device Manager
A hard drive error message can show up for many reasons and one of the lesser-known reasons is driver issues. If your driver is outdated or missing, this could cause issues with your hard disk drive, so here is how to update them in Device Manager.- Press Windows Key + R together to launch the command prompt.
- Type devmgmt.msc
- Go to Disk Drives menu to see if there are yellow exclamation symbols (this will indicate that there are driver issues).
- Right-click on any drives containing the yellow symbol and then choose Update Driver.
- Reboot the system and see if this restores your hard disk drive, if you get the error message again, we have one more way to restore data from hard disk that is not detecting.
- If this does not work, you can consider driver update software.
- External Solutions/ Recovery Software
There are additional methods that require a more advanced understanding of PCs and hard drives, but these three options are the most ubiquitous .If you were able to recover your data in either of the first two options, kudos to you! However, suppose you still are not having luck recovering your data and still seeing the error message. In that case, it may be time to consider external solutions such as recovery software or taking it to a professional. If you take it to a professional, you may end up paying a lot more than you expected, and that is why we recommend hard drive recovery software. If you need help choosing a trusted and affordable software program, Try iolo’s Search and Recover software. The software contains StrongScan that performs a sector-level search to find more deleted data than many other products, even after years of deletion or hard drive issues.
When attempting to recover data from an undetected hard disk or external drive, there are solutions to restore your files. Utilizing data recovery software specifically designed for the task is a effective and efficient approach to recovering data from a hard drive that is not detecting. For a hassle-free experience we recommend trying iolo’s Search & Recover recovery software. Take action now and regain your lost files with iolo.


