After updating to a new version of Windows®, many people are eager to see what changes they come across. That eagerness can turn sour in a hurry if there appear to be files deleted or missing after an update. Suddenly, there is fear that it is impossible to recover any of those files, no matter how important or trivial they are.
Fortunately, users can take steps to recover any lost files, so that fear is limited overall. While there is never any guarantee, having as many options as possible increases the likelihood of good news in the end.
Finding Lost Files After an Update
Backup Often
The best way to ensure you don’t lose files is to make regular backups.
Search Likely Locations
Search Hidden Files, other User accounts, and alternate drives.
Use a Recovery Software
iolo’s System Mechanic® Ultimate Defense™ can scan drives and help locate lost files.
Finding Lost Files After an Update
Microsoft is always looking to improve its operating system, which is why people find themselves doing updates fairly frequently. While it is common for most people to ignore some updates, most updates are required to make sure everything continues to function well within the operating system.

Some of the following steps occur before updating the OS, while others are quick fixes afterward. Start with basic, simple, and free ideas first.
1. Do not slack on backups
Everyone should develop the habit of backing up their system regularly. The easiest method is to set up automatic backups periodically, as it’s easy to forget to keep up. Before doing any major operating system upgrade, take the extra bit of time to do a complete backup first.
An external hard drive is still one of the most popular storage options, but not everyone has one at their disposal. Look at online services, such as what is offered from Google Drive or Microsoft OneDrive, which offer free options available for people who might not have a lot to store. And if you need to pay for larger amounts of storage, it’s generally worth it to avoid a huge headache if something goes wrong.
2. Hidden files are occasionally the culprit
As annoying as it might sound, certain files get mislabeled as hidden during an upgrade. Sometimes it makes sense, but it can also happen randomly to files that need to be found. Before panicking too much, make sure to check all hidden files and folders on the computer by following these three steps.
- Open up Control Panel, and click Appearances and Personalization. That will open up a few options, where people can click on Folders
- Select the View tab under Folder options
- Select Advanced Settings, and then click on Hidden Files, Folders, and Drives. Once that is selected, everything hidden is displayed.
3. Make sure the right user profile is activated
Updates to an operating system can cause a bit of chaos once it restarts. One example is restarting with a different or temporary user profile. People might not initially notice, but once they start looking for files, they realize that they are missing.
Make sure to restart a newly updated computer and sign in with the standard username and password. It might be a super simple fix to a stressful problem.
4. Examine all accounts
All files on a computer are accessible through an administrator account. When a new operating system is available, there is a chance that Microsoft creates a new administrator account. Going back to the old account is easy, as long as a person knows the right steps.
To go back to the computer’s main user account, click on the Start menu and type “computer management” into the search box. This will open up Windows 10 Computer Management. There will be a downward pointy arrow on the administrator account if it is currently not enabled. Enable it by double-clicking the administrator icon and making sure the property box opens up.
Once that is accomplished, click the check next to “account is disabled” and click Apply, followed by OK. This sets the computer up and ready to log out of the computer and log back into the old account.
5. Read up on Microsoft support, and third-party support websites
For very specific issues, one of the best ways to find answers is to search online. Type in as many specifics as possible, and chances are, someone else has already encountered a problem like this.
In most cases, the top responses to questions will be properly at the top. Follow a few of the tips, but do not hesitate to participate in a message board discussion. If no one else has answered a specific question, now might be the time to ask.
6. Try recovery software
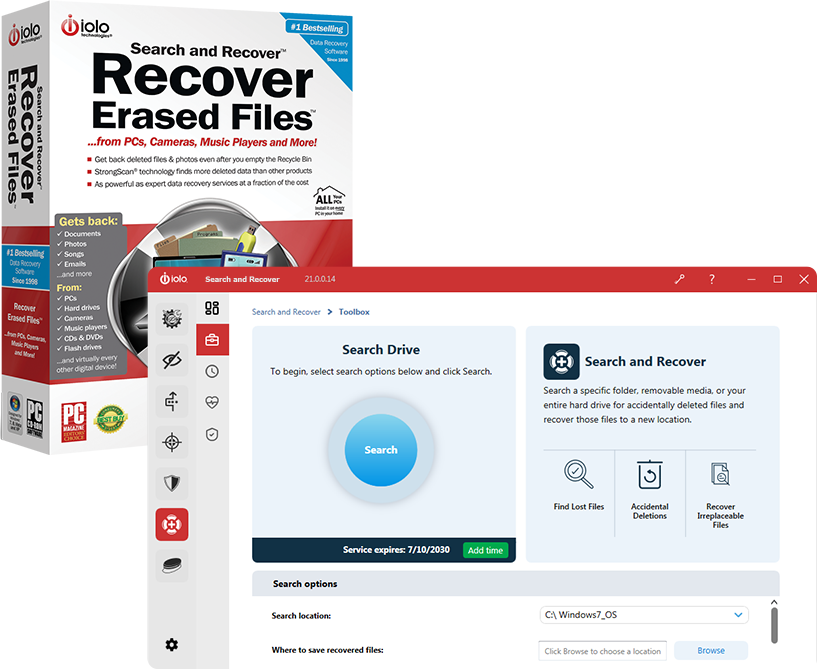
The main data recovery software included with System Mechanic Ultimate Defense is known as Search and Recover™.

This feature can help restore accidentally deleted documents, music, photos, emails, videos, system files and entire folders from many types of hard drives, cameras and other devices, including certain damaged ones. Search and Recover helps rescue critical work and even cherished memories you thought were gone forever.
7. Talk to an expert
The final solution that many end up turning to might sometimes become a little costly, but it is worth it, in the end, to get certain files properly recovered. Whether it is online technical support, going to a local shop, or anything in between, talking to an expert can help go over any additional solutions that might be available.
At iolo, 24/7, premium technical support for any device or software issue is available through LiveTech. Skilled professionals can help not only with difficult data recovery, but any issue you may be having from outdated device drivers, video conferencing problems, printer trouble, malware infections, mobile device clutter, and more.
We can help!


